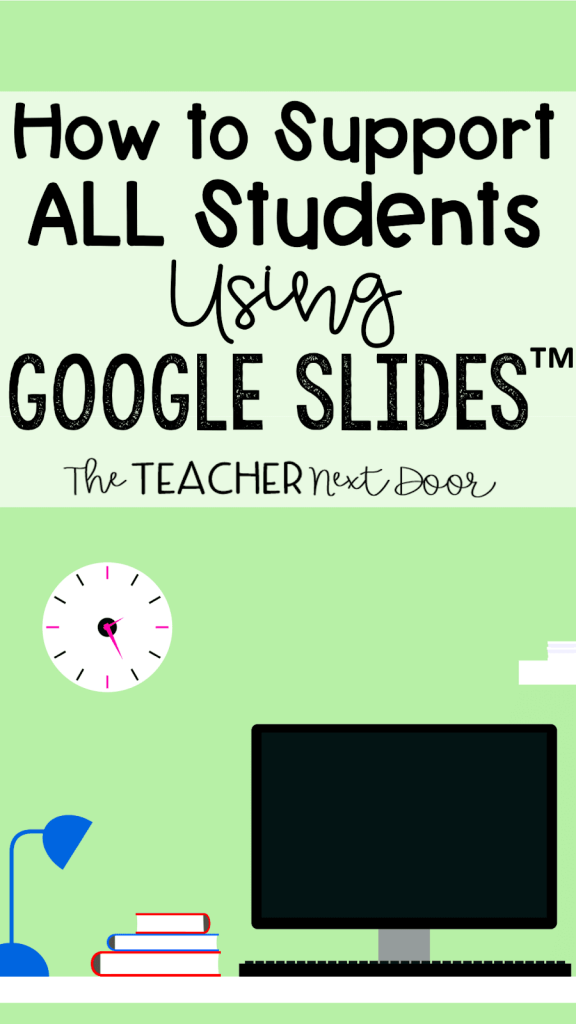
As we move toward more digital-centric classrooms, it’s important that we find ways to support ALL of our students to help them succeed. Whether the student is a struggling reader, an ELL student, or a SPED student, Google Slides™ makes differentiating easier than ever before.
With tools built directly into the platform, classroom teachers, SPED teachers, and support staff can easily provide scaffolding, accommodations, and additional help for students who need it most.
I’m a firm believer that best practices are just that, best practices. Many of the tips listed below aren’t only useful for our special populations, but can also apply to all digital learners.
Here are 21 quick tips about how to use Google Slides™ to support the diverse learners within your classroom.
Add Text and Shapes to the Side of Slides.
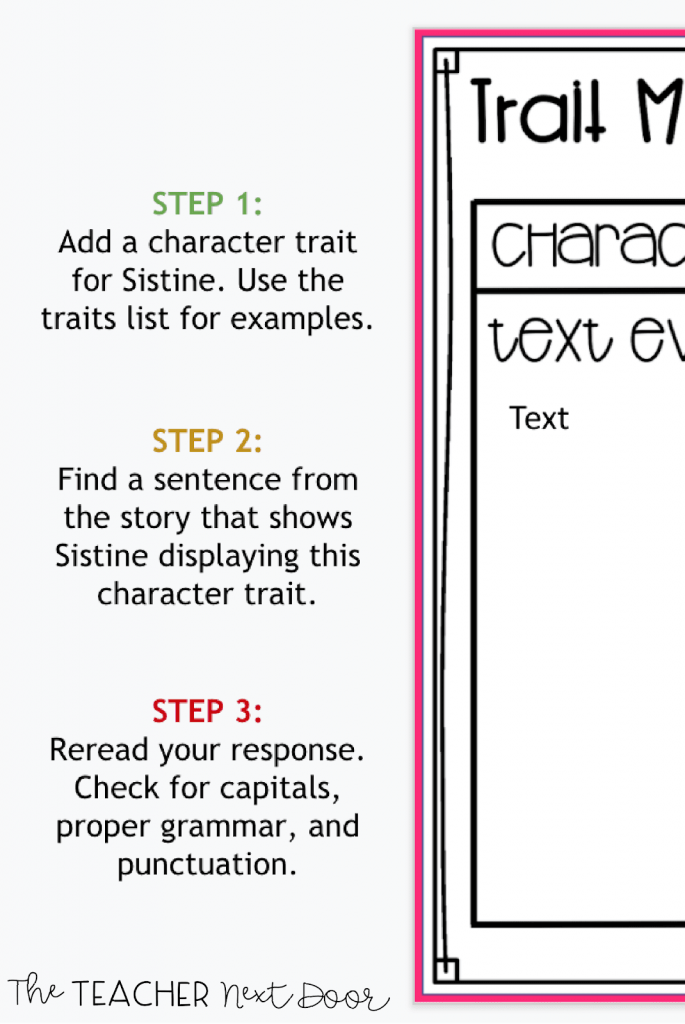
Make the most of the white space surrounding each slide by adding text boxes or shapes with additional information for students. The text and images within this area will not appear in presentation mode.
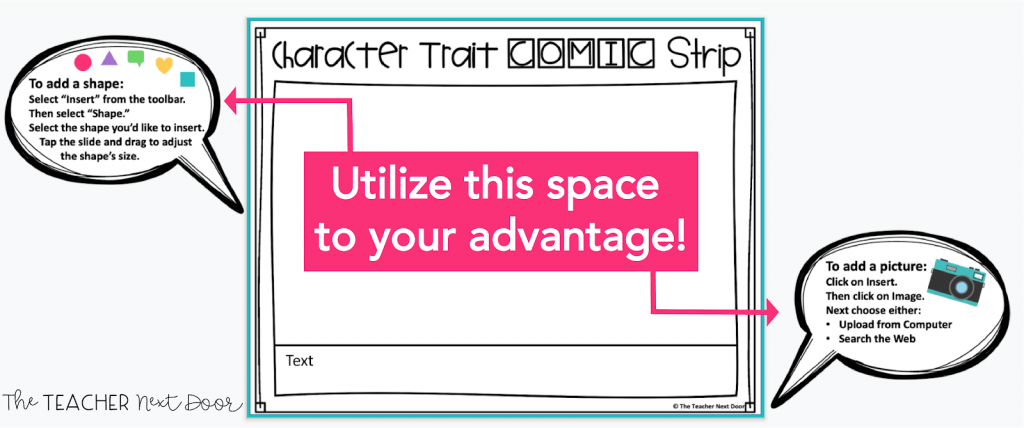
Here’s an example of how I utilize this space from my Characters, Setting, and Events Unit. You can find out more about this unit here!
Other ideas for how to use this space:
- Create step-by-step instructions
- Add colored shapes along the side of each slide to color code assignments.
- Add a drag and drop features to encourage checking work. (Sometimes it feels like it should be every upper elementary student’s goal, right?!)
- Use a skinny, transparent rectangle as a line reader when working in a small group. I love using this trick with students working on oral reading fluency or students with dyslexia. It’s the digital equivalent to the old cellophane reading strips!
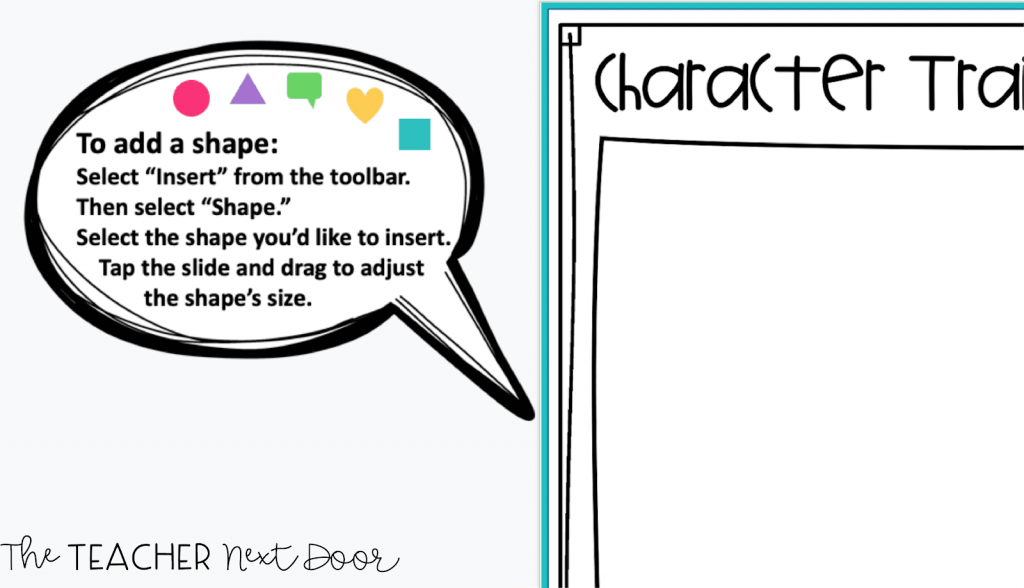
- Easily add color-coding to text passages. Perfect for chunking work, creating assessment accommodations, or for referring back to the text.
- To color code or add a line reader, add a shape to your slide and select the paint bucket to change the color. Select “Custom” to reveal the transparency slider. Choose your color and lower its opacity to about 25%. Add the shape over the text.
Add an Intro Slide
Adding an intro slide gives you unlimited possibilities. It’s the first thing students will see once they open the assignment and is a great place to communicate expectations, share more information, or restate directions.
Here are some of my favorite ways to use intro slides:
- Add instructions. (GREAT during eLearning. Writing a quick note to parents on the intro slide can save you SO.MANY.EMAILS.)
- Add additional directions or add directions in another language.
- Add a photo of notes from your whiteboard.
- Add an example question.
- Add a link to instructional videos.
- Insert a video of you reading the directions aloud. (Great for students who require verbal directions. They can replay the video as many times as needed.)
- Add a mini glossary for students using vocabulary found within the assignment. (Perfect for ELL students. You can enhance this strategy by adding matching images, as well.)
- Add a photo or video of a science investigation for students who need visual reminders or for students who may have been absent.
Use Google Slides™ Built-In Tools
Version history
- Version History is a fantastic tool for students who are just a bit too click-happy for their own good. Picture this – you send a multi-day assignment via Google Classroom™. Two days into work on this project, a student notifies you that all of their work is gone. You try to stay calm for your panicked student, but all you can think about is how you’re going to allow this student enough time to redo the entire assignment. That’s when you remember Google Slides™ has a built-in version history. Simply select “File” from the toolbar and locate “Version History.” This tab will allow you to sort through several saved versions of the Google Slides™ project and restore it. I have used this feature so many times. It is truly a lifesaver.
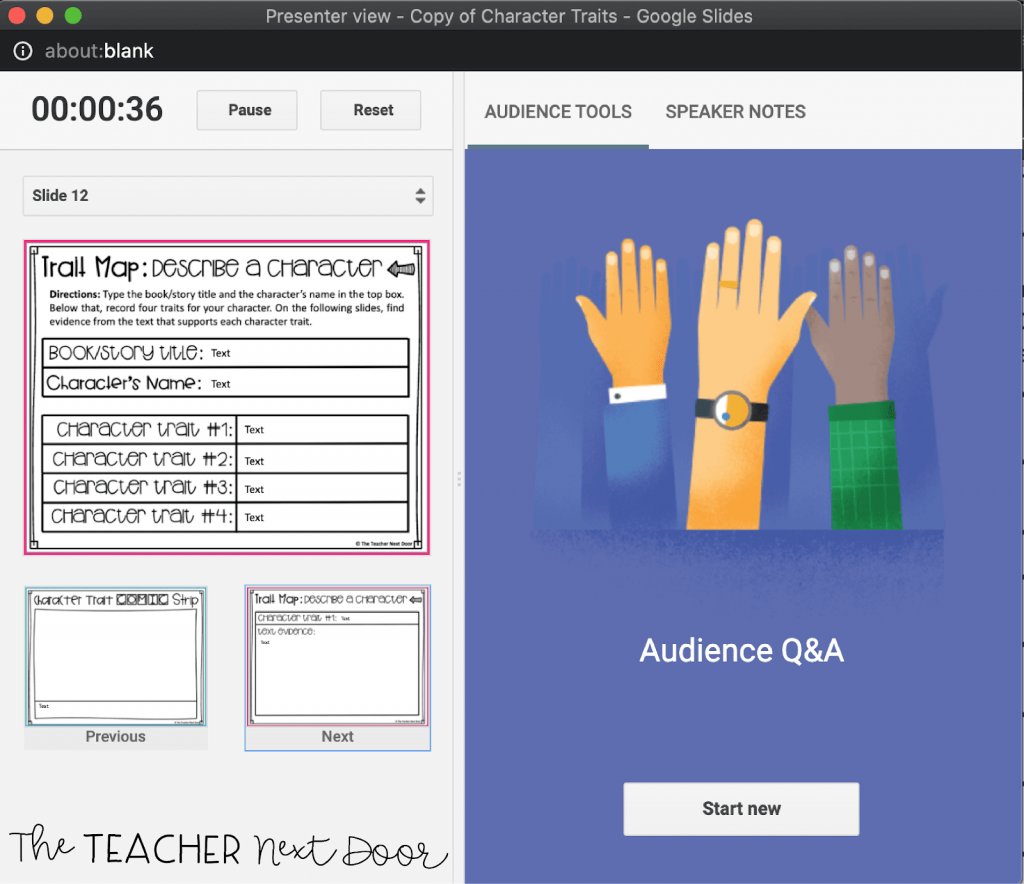
Google Slides™ Built-in Q&A feature.
- When presenting, select “Q&A” from the presenter’s toolbar. From here, initiate Q&A mode, which will display a link for viewers at the top of the Slides presentation. The audience can send the presenter questions electronically. Even better, other audience members can “thumbs up” questions if they have the same one. Q&A is an excellent feature for eLearning and for students who aren’t confident enough to raise their hands and ask questions.
Built-in accessibility tools
- These tools work with third-party devices and apps which support screen magnifying, braille translation, and screen reading support. To access these features, select “Tools” from the toolbar and select “Accessibility.”
Shared editing and suggestions mode through Google Classroom™
- This feature will allow you to collaborate digitally with a student, even while eLearning. Simply open the student work tab within your Google Classroom™ assignment, select the student who you would like to work with, have your student open the assignment on his/her device, and select editing or suggestion mode. From here, you have a live look at your student’s work where you can help support them along the way.
- PROTIP: This is also a great way to manage students who may be off-task in the classroom. When working with a small group, if I glanced across the room and saw a student who needed a bit of a reminder to get back to work, I would pop into their assignment. The appearance of my name within their assignment was usually enough to have them make the “uh-oh” eye contact with me and get back to work. It works like a charm, and it’s a tremendous non-verbal cue!
- You can also use shared editing mode to provide sentence stems or starters for students who require them within their IEP. I like to highlight the sentence stem, so parents know which part was provided by the teacher and which was written by the student.
Are you interested in building your digital teaching catalog? I have TONS of digital resources available in my store. Here are a couple that might interest you!

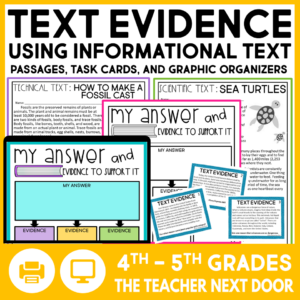
Text Evidence Using Informational Text: Print and Digital
Click here to check out over 400 more digital resources for upper elementary!
If you’re interested in reading more about Google Classroom™ check out these blog posts below:
Why You Will Love Using Google Slides™
How to Wrap Up the Year with Google Forms™