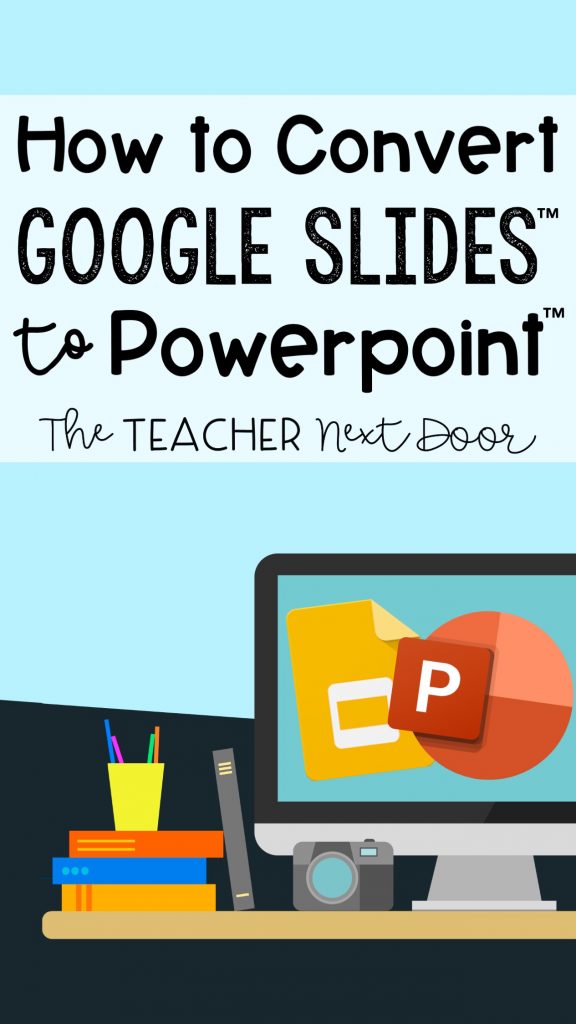
Have you ever downloaded a teaching resource to find that it was created in Google Slides, but you need to use it in PowerPoint? If so, I have four easy steps to teach you how to convert a Google Slides into a PowerPoint presentation!
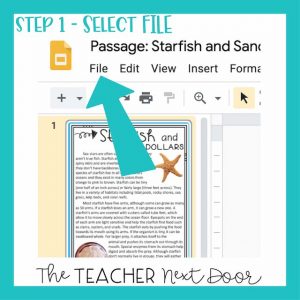
STEP ONE
Open the Google Slides in your browser and select the File button in the top left-hand corner.
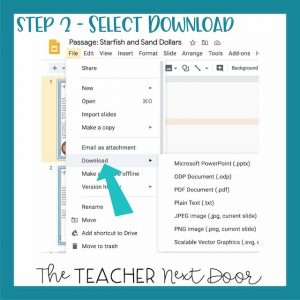
STEP TWO
Locate the Download button from the menu.
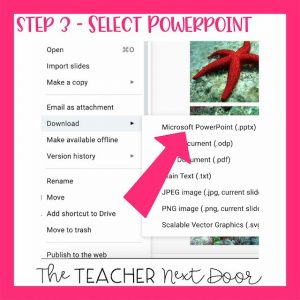
STEP THREE
While hovering over the Download button, select PowerPoint Presentation (.pptx) from the list.
Note that there are other download options within this menu for future use.
You can choose to download your Google Slides as:
- ODP file – for use in OpenOffice, a platform not commonly used within education
- PDF file -easy for printing, adding as an email attachment, or sharing with others not familiar with Google’s platforms
- TXT file – a file that contains only text and no images, but can be universally open by anyone with a text reader on their device
- JPEG file – this option will save the slide selected in the sidebar as an image file
- PNG file – this option will save the slide selected in the sidebar as an image file – PNGs are traditionally reserved for images with rigid borders that contain transparent backgrounds, similar to stickers
- SVG file – SVG stands for scalable vector graphic, which are made of polygons that can be edited and resized; you may be familiar with this type of file if you are a Cricut user. However, I would not recommend it for this blog’s purpose
STEP FOUR
Locate your file on your computer.
Be sure to save it in a clearly labeled folder on your computer or in SharePoint. That way, you’ll be able to assign it to students quickly!

If you liked this post, I have a few others that you might be interested in too!
Check them out below:
– How to Begin the School Year Digitally
-Top 10 Digital Back to School Activities
– How to Support ALL Students Using Google™ Slides
![]()